Posture Exercises For Osteoporosis | Alleviate The Dangers Of Osteoporosis With Posture Exercises

Osteoporosis leads to a decrease in bone mass and density, resulting in weakened bones. This condition makes bones more porous, making them susceptible to fractures.
As a result, maintaining poor posture can be detrimental to patients with Osteoporosis, as it increases their susceptibility to injury. Osteoporosis is more common in older adults, especially postmenopausal women.
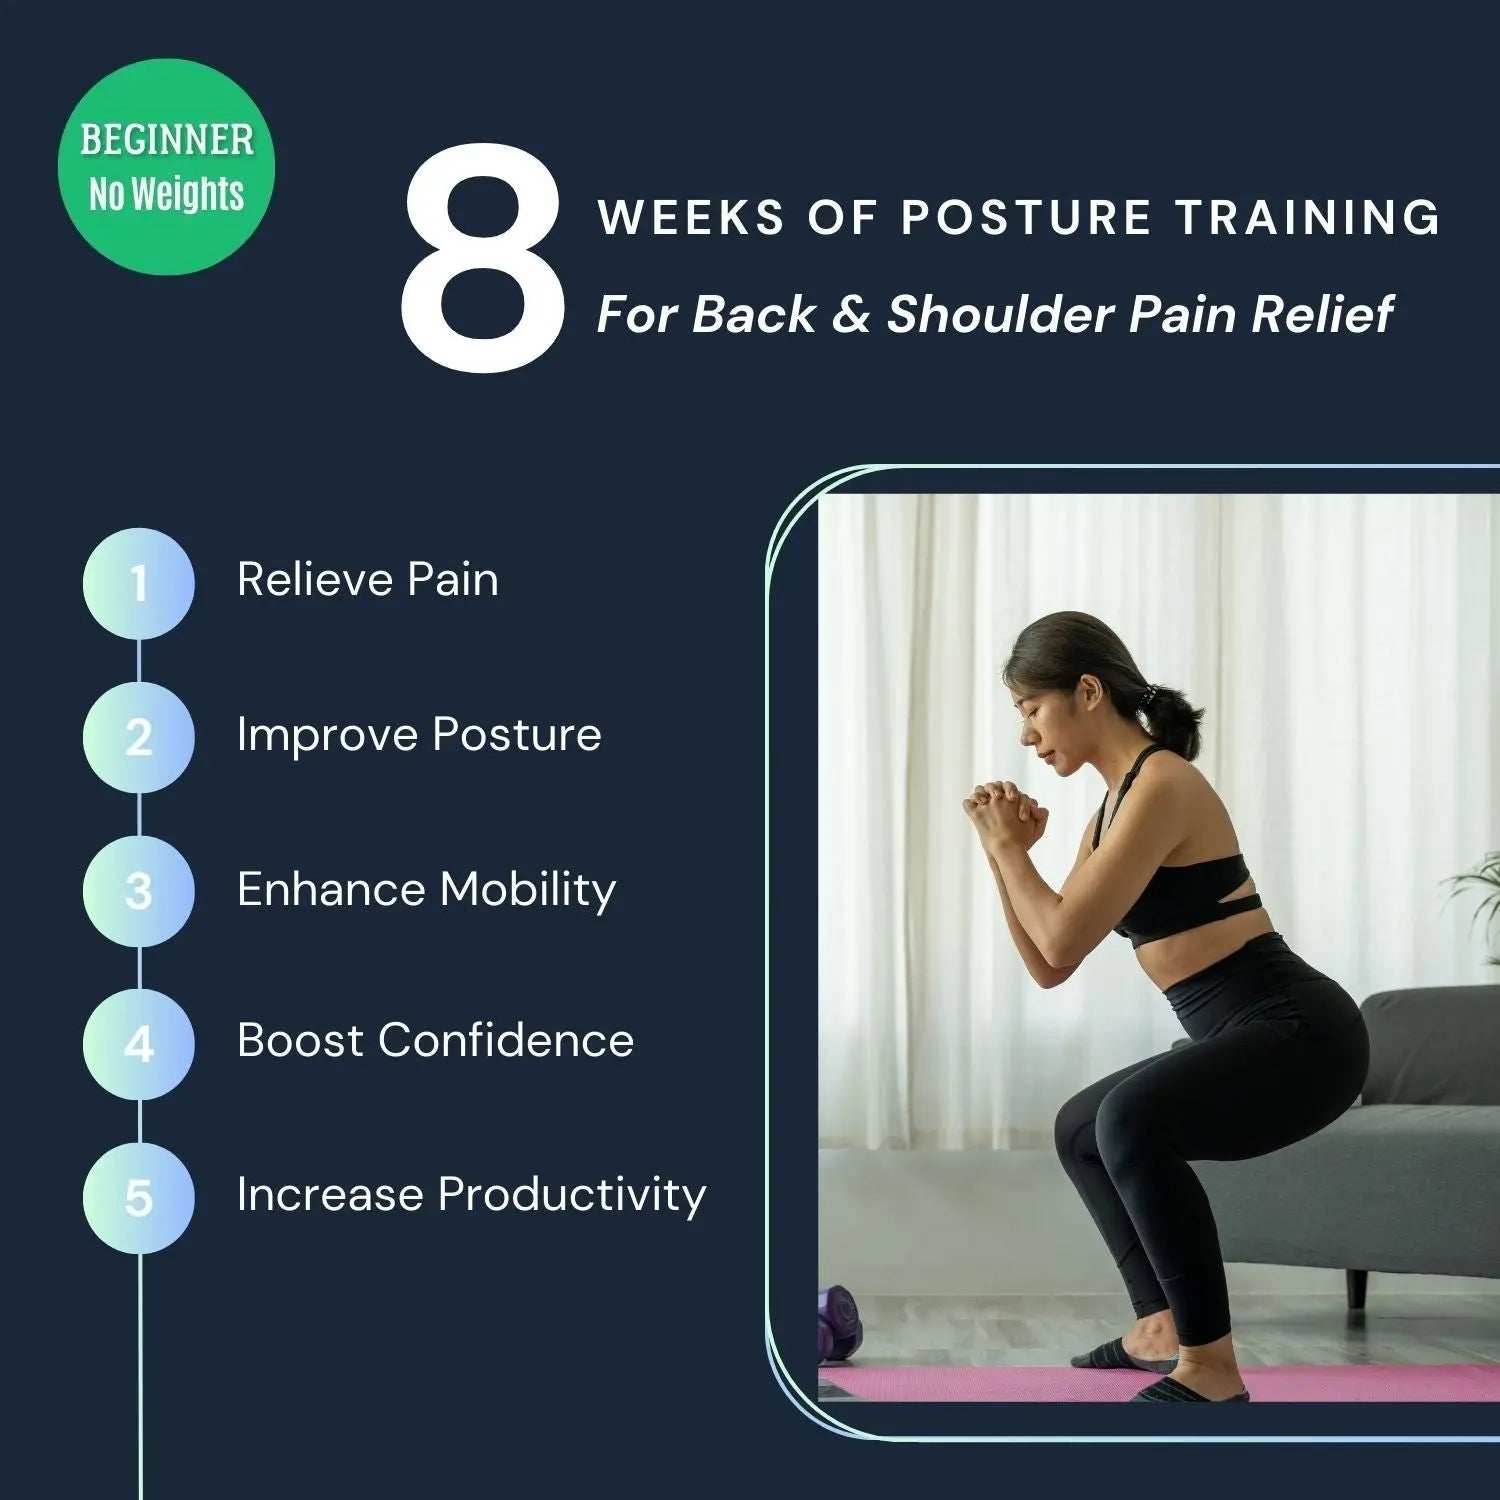
The good news is that there are some helpful posture exercises that are designed to reduce these risks. So today, we'll be diving into helpful posture exercises if you're struggling with Osteoporosis.
3 Benefits of Posture Exercises for Osteoporosis

Posture exercises can work wonders in regaining the strength of your muscles and bones that you lose due to Osteoporosis.
One of their most noteworthy benefits lies in their capacity to rebuild the strength of muscles and bones that may have dwindled over time due to Osteoporosis.
This revitalization of musculoskeletal strength is like a beacon of hope for individuals dealing with this condition, as it can help restore a sense of physical empowerment that may have been eroded by the disease.
As muscles and bones regain their vitality, individuals can experience a renewed sense of vigor and resilience, enabling them to better navigate their daily lives.
Furthermore, the impact of posture exercises extends to the realm of mobility, an essential element of one's quality of life. Osteoporosis can often lead to restricted movement and stiffness, making even the simplest of tasks a challenge.
However, these exercises hold the promise of enhancing your mobility, allowing you to regain the freedom to move with greater ease and grace.
The gradual loosening of stiff muscles and the improvement in joint flexibility can be life-changing, facilitating a return to activities that might have once seemed impossible.
They can also help improve your mobility and overall bone health. Now, we will share how these exercises benefit individuals with Osteoporosis:
1. Lowering the Risk of Fractures and Falls

Osteoporosis weakens your bones. Consequently, when you have an abnormal posture on top of it, you become more susceptible to bone damage or fractures during falls.
Poor posture alongside Osteoporosis can easily lead to bone fractures. These exercises offer a comprehensive approach to reducing the risks associated with bone weakness.
They strengthen muscles and bones, improve posture, enhance balance and coordination, and focus on core and back strength.
As bone density decreases due to Osteoporosis, maintaining good posture and bone care becomes crucial to prevent fractures.
By strengthening the muscles that support the skeleton, individuals who regularly engage in posture-improving activities can go about their daily routines with reduced fear of injury from slips, trips, and falls.
2. Improving Balance and Stability

Balance exercises, including those that enhance stability and coordination, can help mitigate the risk of falls, especially important for individuals with Osteoporosis, who are more prone to fractures.
For those with Osteoporosis, enhancing balance and stability through exercise is a crucial component of fall prevention. Engaging in specific physical activities can significantly reduce the risk of falls and bone fractures.
Osteoporosis weakens bones, underscoring the importance of improving balance and coordination to minimize the risk of accidents.
Activities designed to improve balance enhance proprioception, the body's awareness of its own position in space. These activities aid in motor control improvement, a vital factor in reducing falls. Even a minor misstep can result in a fracture for those with fragile bones.
Therefore, individuals with Osteoporosis should regularly participate in balance-improving activities to enhance overall stability and reduce the likelihood of potentially severe falls.
3. Enhancing Muscle Strength and Flexibility

Osteoporosis often weakens your bones and can lead to muscle weakening over time.
Many individuals with Osteoporosis often struggle with restricted movement, leading to muscle stiffness. This contributes to poor posture when certain muscle groups are not engaged.
Posture exercises can help target specific muscles, strengthening them, and promoting proper spinal alignment. This, in turn, results in improved stability, stronger muscles, and overall better health.
Enhancing muscular strength and flexibility plays a pivotal role in managing Osteoporosis. Muscle weakness and stiffness stemming from bone loss associated with Osteoporosis can lead to an increased risk of falls and bone fractures.
Targeted activities aimed at building strength and flexibility can significantly reduce these risks.
Both resistance training and weight-bearing workouts, which promote muscle development, also contribute to increased bone density. This not only enhances physical performance but also safeguards the skeletal structure.
Well-developed muscles play a vital role in supporting and protecting the skeleton, reducing the risk of bone fractures in the event of a fall.
Furthermore, flexibility activities such as yoga and stretching routines help maintain joint mobility and prevent stiffness. These routines can assist individuals with Osteoporosis in overcoming the mobility issues often associated with the condition.
Improved flexibility reduces the likelihood of compression fractures in the spine and lessens strain on certain areas.
Precautions and Guidelines

Seeking guidance from a healthcare professional before embarking on an exercise routine is a crucial step, especially for individuals with specific medical conditions or concerns like Osteoporosis.
A doctor can conduct a comprehensive health assessment, considering your medical history, current health issues, medications, and lifestyle.
The results of this evaluation can help determine safe and suitable physical activities for you to pursue.
Physical therapists and other medical experts can collaborate with you to create an exercise program tailored to your specific needs. They can provide you with safe and effective workout recommendations customized to address your unique requirements and those related to your Osteoporosis.
Why Should You Use Proper Form and Technique?
Proper form and technique are essential to prevent strain and reduce the risk of injury during exercise. For individuals with Osteoporosis, incorrect forms can place excessive stress on bones and muscles, increasing the risk of fractures or muscle strains.
Performing each exercise with the correct form, following a proper assessment and technique, guarantees that you target the right muscle groups and enjoy the full benefits. Your exercises will become more productive and efficient as a result.
Ensuring that you perform each exercise with the utmost attention to proper form, following a thorough assessment, and employing the correct technique, offers a multitude of advantages.
Not only does it minimize the risk of injuries, but it also ensures that you are effectively targeting the intended muscle groups. This precision allows you to derive the maximum benefits from your exercise routine.
Furthermore, adhering to proper form and technique will transform your workouts into highly productive and efficient ones.
By optimizing your movements, you can enhance the effectiveness of each exercise, facilitating better results and contributing to your overall well-being.
So, whether you are just starting out or are a seasoned fitness enthusiast, never underestimate the importance of correct form and technique in your exercise regimen, especially when managing Osteoporosis.
12 Posture Exercises for Osteoporosis

According to Bradford D. Martin, Ph.D., PT, regular exercise not only helps alleviate pain but also strengthens the spine and surrounding muscles (upper back, lower back) in cases of poor posture and Osteoporosis.
Therefore, here are some effective workouts you can do:
Upper Body Exercises:
1. Shoulder Blade Squeeze
One effective method to strengthen the muscles supporting your shoulders is by performing the shoulder blade squeeze.
Benefits for strengthening upper body muscles
- This can reduce rounded shoulders and slumped posture from extended sitting or bad posture.
- The shoulder blade squeeze exercise targets the rhomboid, trapezius, and rear deltoids. As a result, your upper body strength will improve for daily activities and sports.
- Strong upper back and shoulder muscles stabilize shoulder joints, lowering the incidence of rotator cuff and shoulder impingement syndrome.
Step-by-step Instructions
- Stand or sit up straight with your arms relaxed at your sides.
- Roll your shoulders back and down to a neutral position.
- Gently squeeze your shoulder blades together as if attempting to pinch them.
- Hold the squeeze for a few seconds.
- Release and relax your shoulders.
- Repeat the movement several times as needed.
Precautions and modifications
- Consult your doctor or physical therapist before starting any fitness program, especially if you have Osteoporosis. They can evaluate your condition and provide recommendations.
- Instead of heavier weights, use resistance bands or lighter weights for shoulder blade squeeze workouts. This lowers bone and joint stress.
2. Wall Angel
If you desire a greater range of motion in your shoulders and arms, try performing some wall angels.
Benefits for strengthening upper body muscles
- Wall Angels support shoulder and upper back alignment, reducing bad posture.
- This workout increases shoulder joint mobility and reduces stiffness.
- Wall Angels strengthen the rhomboids, deltoids, and trapezius.
Step-by-step Instructions
- Position yourself against a wall, with your back against it and your feet a few inches away.
- Place your forearms against the wall with your elbows bent at a 90-degree angle.
- Carefully, while maintaining contact with the wall, slide your arms upward as high as possible.
- Hold this position for as long as you can.
- Gradually lower your arms back down.
- Perform a predetermined number of repetitions, sliding up and down the wall.
Precautions and modifications
- Stand comfortably from the wall. As long as you maintain appropriate posture, it shouldn't strain your back.
- Start with a limited range of motion if you have osteoporosis. Focus on a narrower, pain-free range of motion instead of lifting your arms high to avoid damage.
- Use a resistance band for stability and shoulder and upper back relief.
3. Standing Chest Opener Stretch
The standing chest opener stretch helps promote an open chest and improved posture while relieving tension in the chest and front shoulder muscles.
Benefits for strengthening upper body muscles
- Better posture can be achieved through less slouching and rounding of the shoulders if the chest is opened using the standing chest opener stretch.
- It focuses on the chest and front shoulder muscles, which can be a source of stress and tension.
- Improves shoulder flexibility and range of motion by stretching the muscles and tendons surrounding the shoulder joint.
Step-by-step Instructions
- Stand with your feet hip-width apart.
- Bring your palms together and interlace your fingers behind your back.
- Extend your arms out at shoulder height.
- Simultaneously, aim to draw your shoulder blades together.
- Maintain a straight back and keep your chest open for 15 to 30 seconds while holding this stretched position.
- Lower your arms and release the stretch.
- You can perform this stretch as often as you like.
Precautions and modifications
- If you want to avoid losing balance or falling when stretching, make sure you're standing or seated in a secure position.
- Relax into the stretch and continue only as far as feels good, avoiding any pain or discomfort.
- You may complete this stretch while seated on a sturdy chair or bench for added support and to lessen the likelihood of falling.
- Do not twist your spine too much when you complete the stretch. Your attention should remain on expanding your chest and contracting your shoulder blades.
Midsection Exercises:
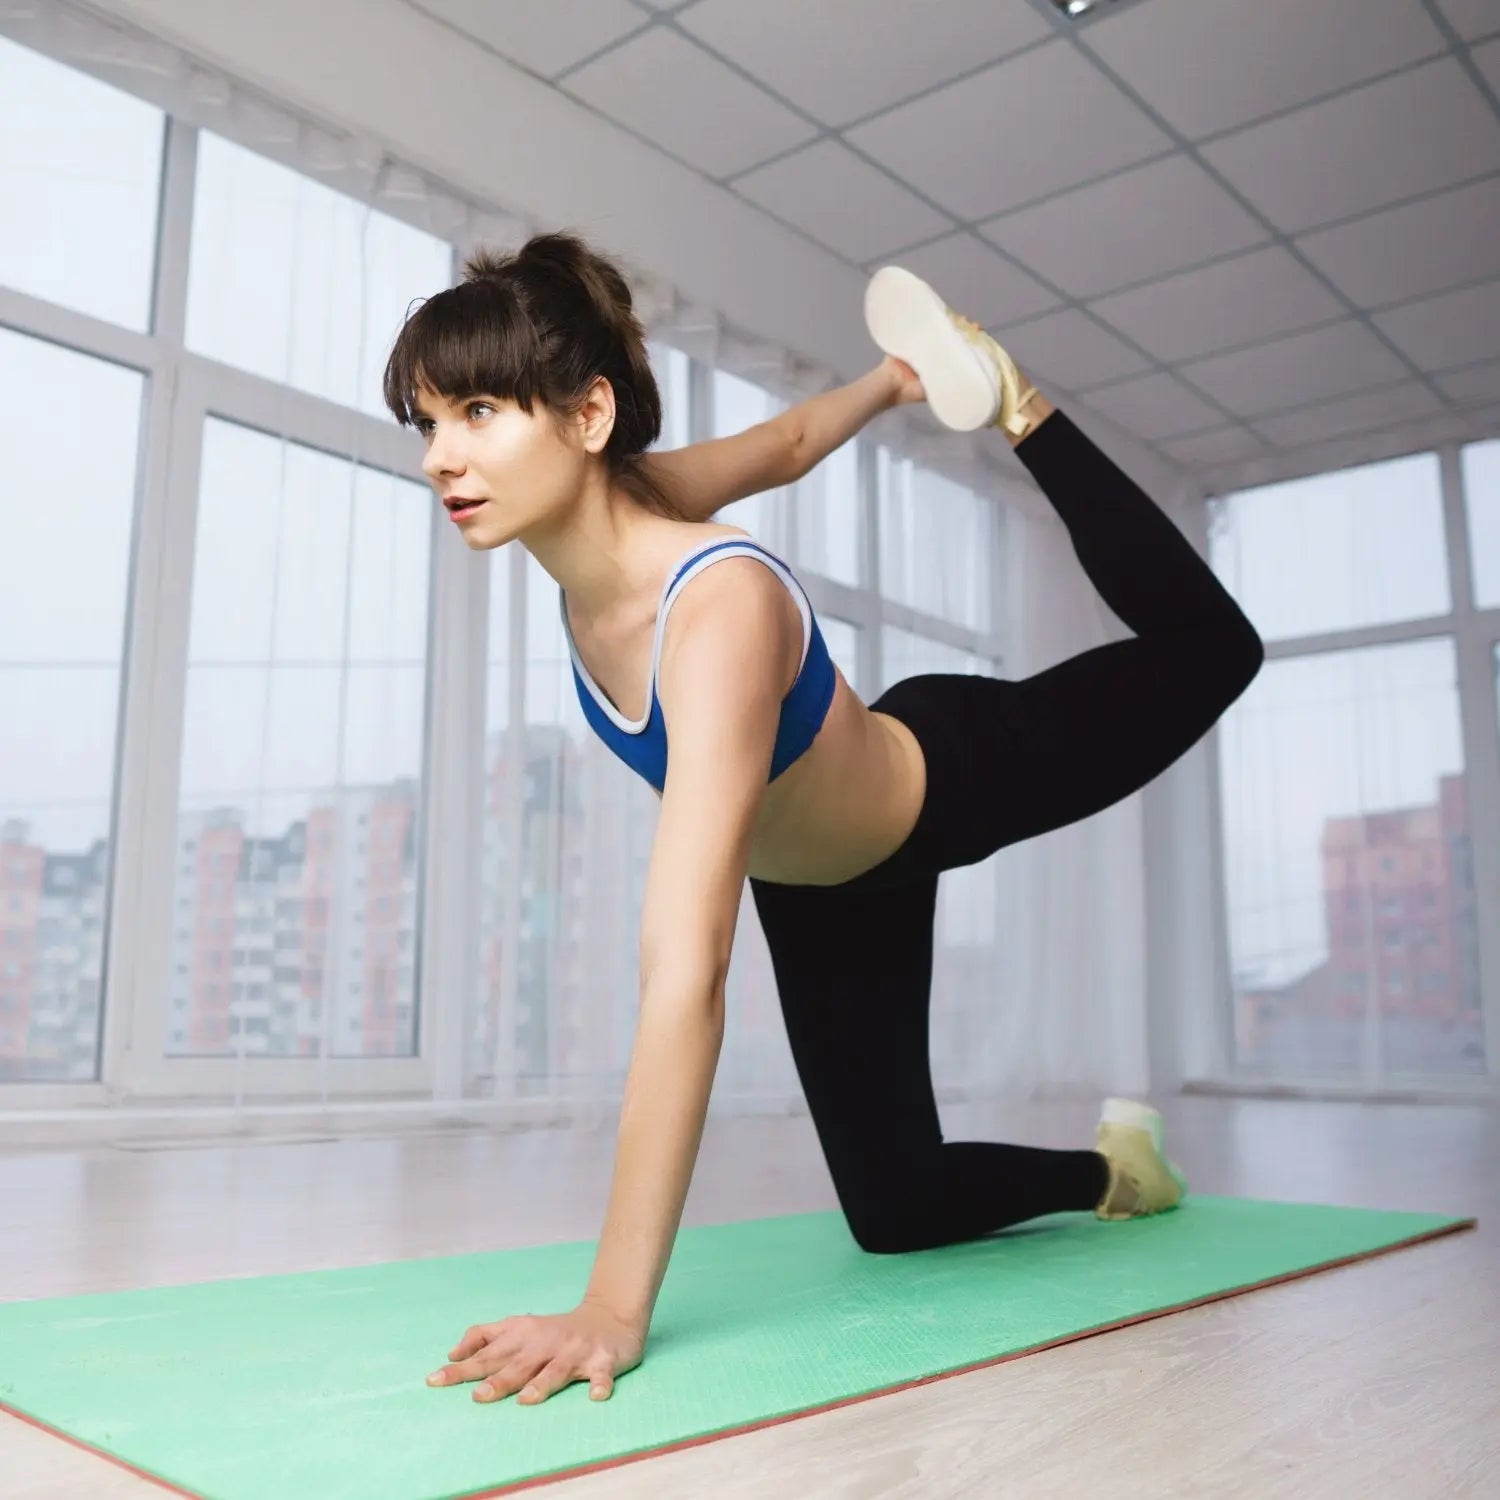
4. Cat-Cow Stretch

The Cat-Cow stretch is a gentle way to warm up and mobilize the spine, involving a dynamic flow between two positions inspired by yoga. It enhances flexibility, alleviates back stiffness, and is frequently used in pre-exercise warm-ups.
Benefits for strengthening midsection muscles
- By increasing spinal mobility and flexibility, the Cat-Cow stretch can benefit back health and reduce back tightness.
- The Cat-Cow stretch is primarily a stretching exercise, but it also stimulates and gradually develops the core muscles.
- This stretch can help you become more aware of your posture and promote improved alignment.
Step-by-step Instructions
- Start on your hands and knees in a tabletop position, aligning your wrists under your shoulders and knees under your hips.
- Breathe in deeply as you arch your back, lifting your head and tailbone towards the ceiling (Cow Pose).
- Exhale as you round your back, tucking your chin and tailbone, mimicking a cat stretching.
- Continue to flow smoothly between the two positions for 10-15 repetitions, gently mobilizing your spine.
Precautions and modifications
- Move slowly and carefully. The danger of damage is increased if the back is arched or rounded excessively.
- If you need assistance, you may do this stretch while sitting on a sturdy chair or with the use of a prop like a yoga block instead of on your hands and knees.
- Never put more strain on your back than is comfortable. Instead of forcing the spine into uncomfortable postures, gentle mobilization is the aim.
5. Seated Torso Twist Stretch
The Seated Torso Twist is a seated variation of a yoga pose designed to stretch and mobilize the spine, enhance hip and back mobility, and reduce stress.
Benefits for strengthening midsection muscles
- To some extent, the oblique abdominal muscles are used while you twist your body during the seated torso twist stretch, which aids in core strength.
- Flexibility and range of motion in the spine are increased during this stretch, which is beneficial for back health and alleviating stiffness.
- The seated torso twist can help alleviate stress in the hips and lower back, leading to more ease and better posture.
Step-by-step Instructions
- Keep your feet flat on the floor in front of you and sit up straight.
- Raise your right knee while bending it, and rest your right foot on the outer side of your left leg.
- Inhale deeply, lengthening your spine.
- Exhale as you twist your torso to the right, keeping your left elbow close to the outside of your right knee.
- Place your right hand on the floor behind you or press your right forearm against your right thigh for support.
- Gradually deepen the twist with each exhalation without straining your body.
- Hold the twist for 15-30 seconds to feel the stretch in your back and spine.
- Take a deep breath as you return to the center.
- Bend your left knee and twist to the left to perform the same movement on the other side.
Precautions and modifications
- You may do this stretch in a chair with your feet flat on the ground if you have trouble sitting on the floor.
- When gently twisting, pay attention to how far you can actually go.
- Don't overstretch your abdominal muscles or rotate your trunk too sharply. The aim is to use your muscles actively and stretch gently.
6. Modified Plank
The Modified Plank is an excellent exercise for building core strength and also engages the shoulders, chest, and back. It offers a gentler variation of the classic plank exercise.
Benefits for strengthening midsection muscles
- This exercise targets the upper body, namely the shoulders, chest, and upper back, all of which contribute to a stronger upper body.
- Strengthening the muscles that stabilize the spine is one way that regular practice of the modified plank may improve one's posture.
Step-by-step Instructions
- Align your hands and knees, ensuring that your wrists are directly under your shoulders and your knees are positioned squarely under your hips.
- Exhale and engage your abdominal muscles.
- Hold your breath and, one at a time, extend your legs behind you to create a straight line from your head to your heels.
- Keep your fingers spread wide and your palms flat on the floor.
- Maintain a straight alignment of your head and neck with the rest of your body, looking down.
- Aim to sustain a straight spine and a strong core for as long as you can in this position.
- To reduce difficulty, perform the exercise on your knees.
- As your strength increases, gradually extend the duration you spend in the plank position.
Precautions and modifications
- A folded yoga mat or cushion can provide the extra support your knees need to alleviate any pain.
- Instead of resting your hands flat on the floor, use your fists or raise yourself up on your forearms. Wrist pain may be alleviated as a result.
- Start with a lower hold period (10-15 seconds), then as your strength and confidence grow, progressively lengthen the time.
Lower Body Exercises:
7. Glute Bridges

Glute bridges work the gluteal muscles (buttocks), hamstrings, and lower back while engaging the core as an added bonus.
Benefits for strengthening lower body muscles
- By focusing on the buttocks' largest muscle group, glute bridges may be used to improve overall fitness.
- The hamstrings are an essential part of maintaining knee stability and normal leg function, and this workout targets those muscles.
- Glute bridges also engage the lower back muscles, which offer support and aid in maintaining spinal stability.
- Strengthening the glutes and lower back can help improve posture and lessen the likelihood of back discomfort.
Step-by-step Instructions
- Start by lying on your back with your legs bent and feet flat on the floor. Place your hands flat on the floor beside you.
- Take a deep breath and brace yourself.
- Lift your hips off the ground by pushing through your heels and exhaling.
- Your weight should be evenly distributed between your shoulders, upper back, and heels, with your feet hip-width apart.
- Elevate your hips as high as comfortably possible, creating a straight line from your shoulders to your knees.
- At the peak of the motion, squeeze your glutes.
- Maintain the bridge position momentarily.
- Inhale as you gently lower your hips back to the floor.
- Repeat for a predetermined number of repetitions.
Precautions and modifications
- A pillow or yoga block placed under the head might provide additional comfort and support.
- Keep your back in a neutral position and avoid arching it as you work out.
- Throughout the workout, take deep, spontaneous breaths. Do not forget to breathe.
8. Wall Sit

The wall sit is an isometric exercise that strengthens the legs and enhances endurance by targeting the quadriceps, hamstrings, and glutes.
Benefits for strengthening lower body muscles
- The quadriceps (front thigh muscles) are targeted by wall sit exercise, making them an excellent choice for strengthening and conditioning.
- They also work the hamstrings, which increases strength in the lower body.
- By participating in maintaining a sitting position, you activate your gluteal muscles (buttocks), which have extra toning and strengthening effects.
Step-by-step Instructions
- Begin by standing with your back against a wall and your feet hip-width apart. Keep your feet at a comfortable distance (approximately 1 to 2 feet) from the wall.
- Slowly slide your back down the wall as if you were sitting in a chair until your knees form a 90-degree angle.
- Ensure your knees are directly above your ankles and your thighs are parallel to the floor.
- Your hands can rest on your thighs or remain at your sides as you lean back against the wall.
- Maintain this seated position for as long as you can, with the goal of gradually increasing your hold time.
- Finally, push your weight through your heels to stand up.
Precautions and modifications
- Try a firm chair or bench instead of the floor if you have trouble getting up and down.
- Build your self-assurance gradually by starting with a shorter time.
- Concentrate on keeping a flat back on the wall, knees over ankles, and a balanced weight distribution over the soles of your feet.
9. Hip Hinge

The hip hinge is a fundamental movement that involves bending at the hips while maintaining a straight back. It's commonly used in exercises like deadlifts and kettlebell swings.
Benefits for strengthening lower body muscles
- Stronger glutes, hamstrings, and a more stable lower back can be achieved by the hip hinge's emphasis on the posterior chain.
- Regular practice of the hip hinge has been shown to increase hip mobility and flexibility.
- Stabilizing the spine during the action requires activating the core muscles, which helps build core strength.
Step-by-step Instructions
- Start with your feet hip-width apart and slightly bend your knees. Place your hands on your hips or at your sides.
- Stand tall with your chest lifted and your back straight.
- Push your hips backward while maintaining a slight bend in your knees, initiating the hinge at the hips.
- Shift a bit more weight toward the front of your feet.
- Keep your back straight as you lower yourself, feeling a stretch in your hamstrings.
- Once you've reached your maximum range of motion, push your hips forward to return to the starting position.
- Perform the hip hinge exercise for the specified number of repetitions.
Precautions and modifications
- Strong abdominal contractions are essential for maintaining spinal stability during the hip hinge. Having a solid core leads to a strong back.
- Don't do the hip hinge too rapidly, as that might cause injury.
- Before performing the hip hinge, it is recommended to warm up with some light mobility exercises.
Full Body Exercises:
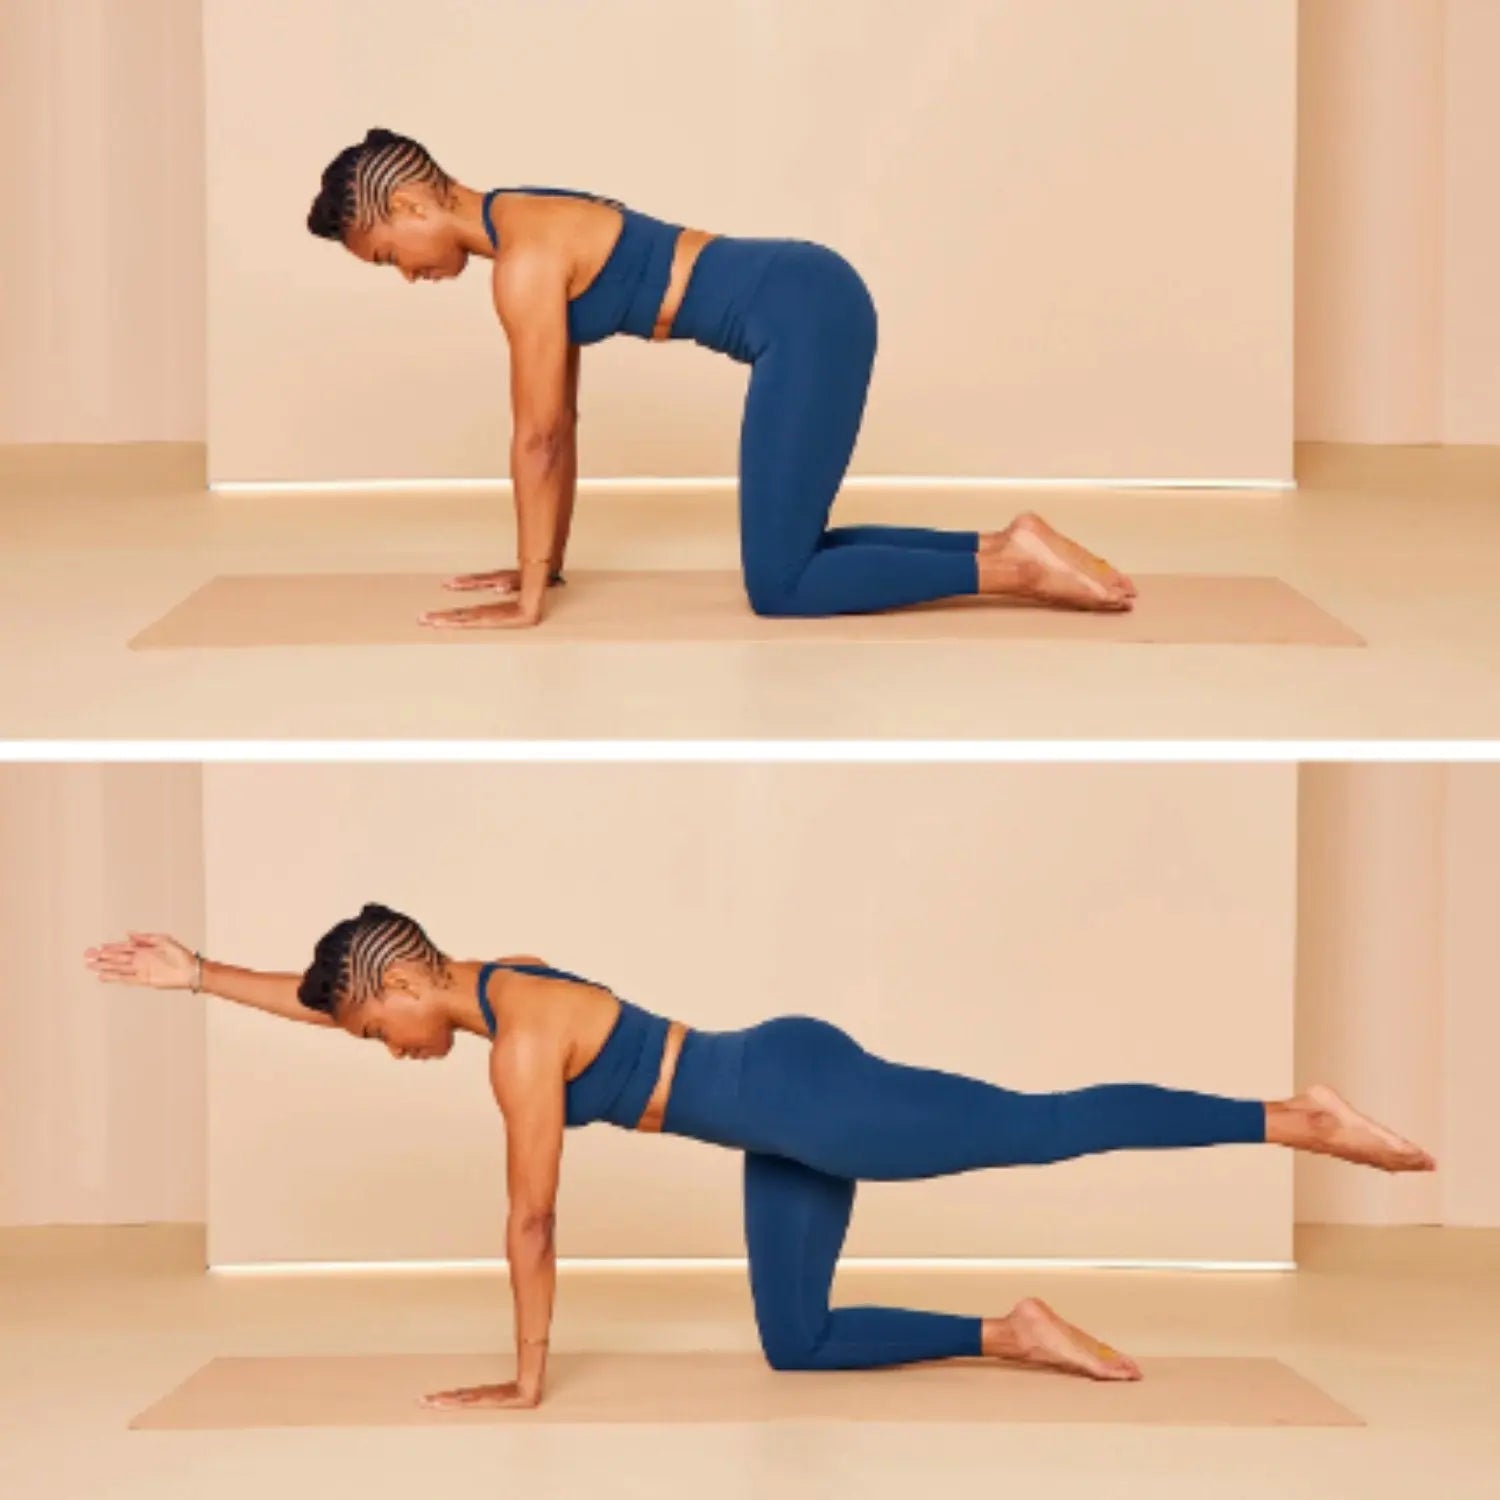
10. Bird-Dog Exercise

The Bird-Dog exercise is an excellent core-strengthening and balance-enhancing move. It engages your abdominals, lower back, glutes, and shoulders.
Benefits for strengthening full body muscles
- The abdominal muscles are the primary focus of this, specifically the rectus abdominis, transverse abdominis, and obliques. During the movement, these muscles collaborate to keep your pelvis and spine stable.
- This exercise targets the erector spinal muscles that run the length of the lower back.
- Extensions of the arms and legs need activation of the deltoids and upper back muscles to ensure correct posture and movement.
Step-by-step Instructions
- Begin in a tabletop position on your hands and knees, ensuring that your knees align with your hips and your wrists align with your shoulders.
- Exhale and engage your abdominal muscles.
- Hold your breath as you simultaneously extend your right arm forward and your left leg backward.
- Maintain a straight line from your shoulder to your knee.
- Try to create a straight line with your fingers and toes.
- Hold this balanced position for a moment.
- Inhale as you return your arm and leg to the starting position.
- Extend your left arm and right leg and repeat on the other side.
- Alternate sides for the specified number of repetitions.
Precautions and modifications
- Consider doing the exercise on your forearms rather than your hands if you're having trouble or discomfort with your wrists.
- If you find it difficult to keep your balance or extend fully, begin with fewer motions and work up to complete extensions.
11. Standing Row

The Standing Row exercise targets the biceps and upper-back muscles (rhomboids and trapezius).
Benefits for strengthening full body muscles
- The front of the upper arm is actively engaged when you draw the weight or resistance towards your body, leading to increased strength in the arms.
- Strength in the grip may be improved by using the forearm muscles when lifting weights or resisting a force.
- By counteracting the effects of slouching and rounded shoulders, strengthening the upper back and shoulders helps improve posture.
Step-by-step Instructions
- Place a resistance band, dumbbells, or the handle of a cable machine in front of you and stand with your feet hip-width apart. Keep your arms fully extended with your palms facing each other or downward.
- Take a deep breath and brace yourself.
- Exhale as you pull the resistance band or weights closer to your torso, bending your elbows.
- While doing this, squeeze your shoulder blades together.
- Keep your elbows close to your body as you pull.
- Hold the contraction for a second, engaging your upper back.
- Inhale as you return the resistance to the starting position, fully extending your arms.
- Complete the exercise for the specified number of repetitions.
Precautions and modifications
- To avoid hurting yourself, be mindful of your form during the whole workout.
- Set the weight or resistance such that you can perform the appropriate number of reps while maintaining proper technique.
- Keep your back straight and don't arch it when you perform this workout.
12. Pilates Roll-Up

The Pilates Roll-Up not only strengthens your core but also engages the muscles in your lower back, hip flexors, and thighs. It's commonly used to enhance spinal mobility in Pilates practice.
Benefits for strengthening full body muscles
- Hip and knee extension and flexion are assisted by the thigh muscles as you roll up and down.
- This is a great exercise for spinal mobility because it provides a full, natural range of motion along the spine's length.
- Proper alignment and movement control are achieved by continuous activation of the muscles of the upper back and shoulder girdle.
Step-by-step Instructions
- Begin lying flat on your back with your legs straight, and your arms stretched overhead, palms facing up. Flex your feet.
- Take a deep breath and brace yourself.
- Hold your breath as you lift your head, neck, and shoulders off the floor, slowly rolling your spine.
- Keep reaching your arms forward as you roll your body up one vertebra at a time.
- Extend as far as you can, aiming to touch your toes if possible.
- At the peak of the motion, inhale deeply.
- Exhale as you slowly lower your back to the mat, one vertebra at a time, reversing the forward bend.
- Repeat the exercise for the specified number of repetitions.
Precautions and modifications
- Never rely on momentum to get you through the workout.
- Do the exercise with caution if you have lower back difficulties or discomfort, and consider utilizing a modified version with fewer motions.
Frequently Asked Questions (FAQs)
Is it better to sit or stand with Osteoporosis?
It's generally better to stand intermittently rather than sit for prolonged periods with Osteoporosis. Weight-bearing activities like standing can help maintain bone density, while sitting for extended periods may lead to muscle weakness and an increased risk of fractures.
What is the best weight-bearing exercise for Osteoporosis?
Weight-bearing exercises such as brisk walking, dancing, stair climbing, and weightlifting are beneficial for Osteoporosis. They help increase bone density by placing stress on bones, stimulating them to become stronger and denser.
What exercises increase bone density in the spine?
Weight-bearing exercises like walking and running can help increase bone density in the spine. Resistance exercises, specifically targeting the back muscles through weightlifting, can also benefit spinal bone health.
What exercises should be avoided with Osteoporosis?
High-impact activities like jumping, running on hard surfaces, and heavy lifting should be avoided, as they may increase the risk of fractures.
Twisting motions and excessive forward bending, such as deep abdominal crunches, can also be risky for the spine and should be approached cautiously.
Finalizing The Talk
Good posture is especially important for those with Osteoporosis because it reduces the likelihood of fractures, eases pressure on the spine, and boosts morale.
Exercises like the shoulder blade squeeze and the wall angle can reduce pain, improve balance, and decrease the risk of falls and fractures.
Individuals with Osteoporosis would benefit from regular exercise. Committing to an exercise plan on a regular basis can lower the risk of fractures, maintain independence, and improve the quality of life.
Always discuss exercise recommendations with a doctor or physical therapist to ensure safety and effectiveness.